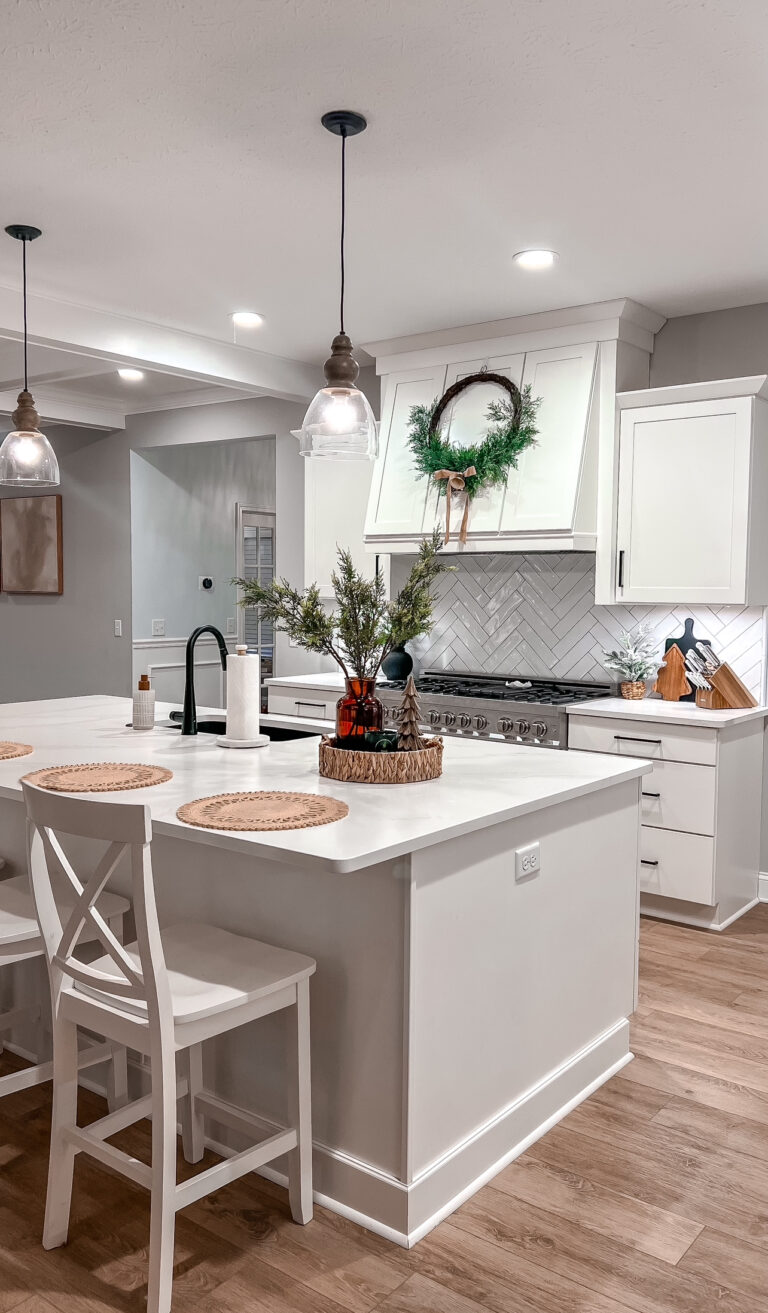
Paneling Accent Wall

If I could panel every wall in my home I absolutely would! This beginner friendly DIY is a perfect project to start with as you become more comfortable & confident with your new DIY abilities. In fact this was one of my very first “big girl” project! It was the first time I used a Brad Nailer and it is also where I learned how to make angle cuts with my Miter Saw.
How to get started:

I love using blue tape to play around with the box layout in my space. I am a very visual person so this method really helps me to see the boxes and get a better feel for what looks right. Often I will let the blue tape stay on the wall for a couple of days until I make a final decision on the layout. There are online calculators in which you can type in the dimensions for your wall and the materials you are using. The calculator will tell you exactly where to install your boards on your wall. This calculator does all the math for you so everything is lined up and centered properly. Calculator here!
Materials needed: Shop here!!

1×3 Primed MDF (click here)
1×4 Primed MDF (click here)
Trim Piece (click here)
Wood Filler
Paintable Caulk
Paint of your choice!
Tools needed:
Brad Nailer
Miter saw
Caulk Gun
Level
Tape measure
Installation:

Once you have your measurements ready to go you can then begin installation. Please note I do NOT use glue when installing. Glue will become a disaster of a mess for you or the next person when you change out the space down the road. Nails work just fine!! Using your miter saw you can begin cutting your boards to length. I started with my horizontal boards. Be sure to use your level as you send your first nail into the wall. Continue to use your level or spacer as you work your way across the wall. TIP: Using your blue tape, mark where your studs are. This way when you work your way down the wall with your Brad Nailer you can be sure to nail into the studs for extra support. Also, when using your brad nailer be sure to not send in all your nails straight. Angle your brad nailer from left to right, up and down, back and forth so that the nails can grab the drywall and studs better. If they all go in straight the boards can easily pull off of the wall. When your boards are all in you can then go through and add in your inner trim piece if you choose to add that to your wall!
Installing decorative inner trim piece:
This is where you will begin to learn how to use your Miter Saw to create the right angles for your trim pieces. My walls called for a 45degree cut. I simply moved my miter to a 45 degree angle from left to right to make my cuts.


Caulk & Fill
Caulk- Use your paintable trim caulk in areas where your trim meets the drywall and where you have inside corners meeting together as well.
Wood fill- Use this for your nail holes!
Final Touches:
You are almost there! You now have hung all your boards, caulked and filled. You now want to sand any spots that need a smoother surface. After you sand be sure to clean the space very well so that when you paint there is no extra debris lingering. Prime and paint your area and watch it all come together! And just like that your project is complete! Congratulations you just paneled your own space!
If you give this project a try please share! Tag @ahomewithastory on IG or FB and don’t be afraid to ask me questions! We can work through this DIY together. Remember, everything is figureoutable! XO Sammie