Coastal Entryway

I always felt like the entry of someone’s home was a perfect preview to their space and their design choices. Well upon walking into my home I think I would scare people off!! There was no rhyme or reason and in fact it was a dumping zone of random furniture pieces and an awful light fixture that yours truly, me, thought was a good idea in 2020.
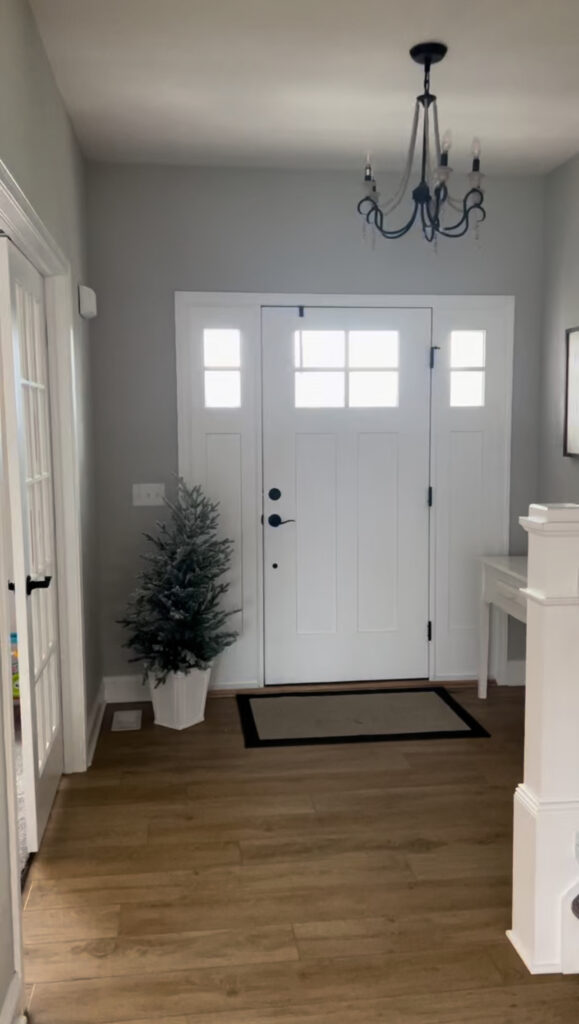
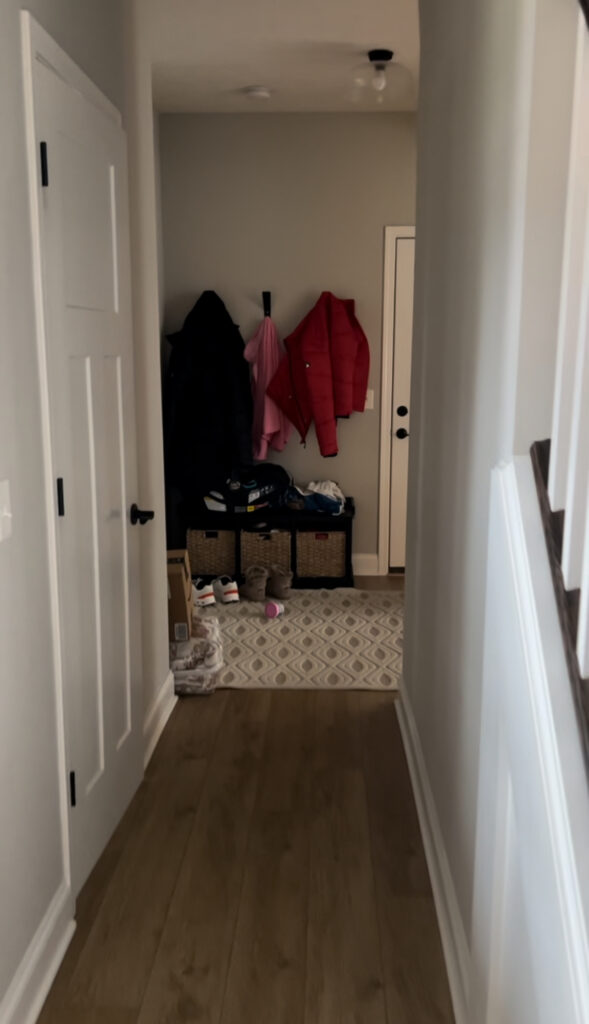
It was time to freshen this space up and to do it on a budget! The grand plan was to continue my love for a timeless feel with a splash of coastal. Bring in the blues and whites along with textures.
Game plan & Paint
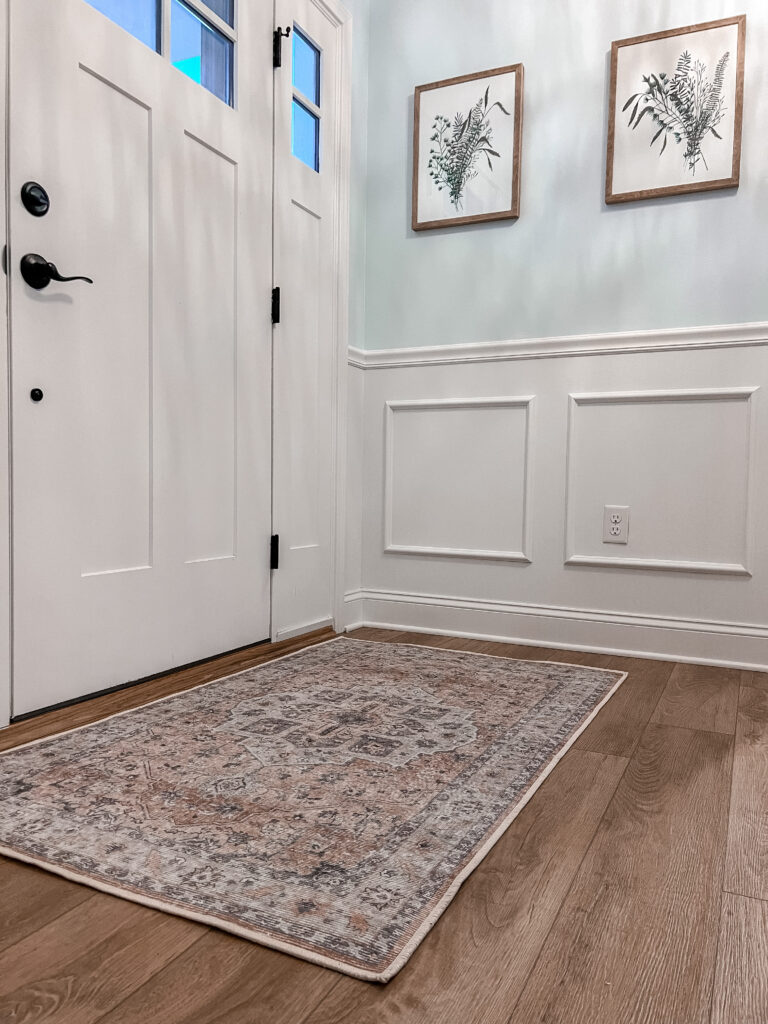
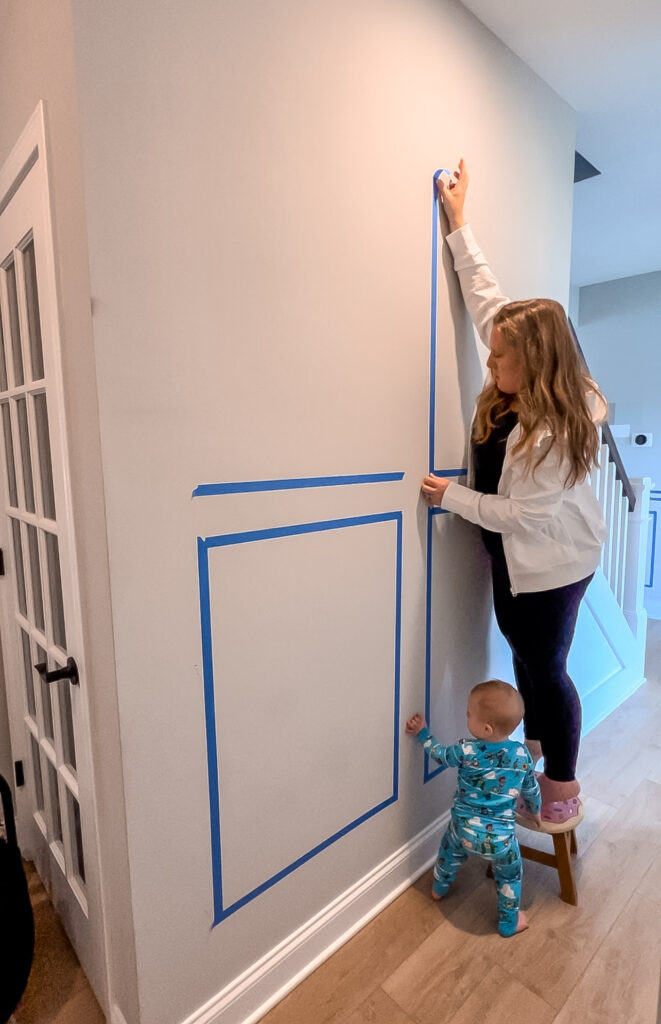
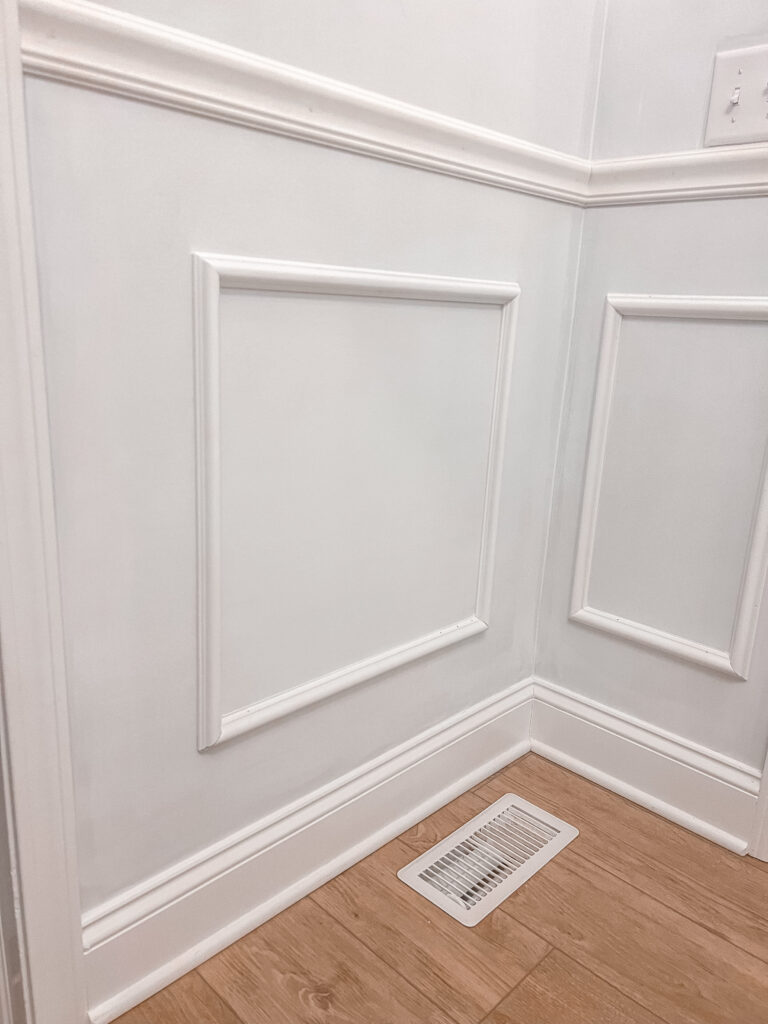
So where do we start? Lets first figure out where we want these boxes to go first and then we can pick a color. If you know me you know that trim detailing is my favorite thing in the world. In my eyes it is timeless, elegant, simple and beginner friendly and but can also have a big impact! I love to use my blue tape to design my box layout and determine the right measurements that feel right on each wall. I planned for a chair rail to be the first item of detail followed by trim boxes beneath. I did space the boxes roughly 4.5” from the chair rail as well as the baseboards.
Now that we have a layout we can try to a color. I am aiming for light and airy and not too heavy of a color. After many long days spent staring at these walls with many manyyyy color variations I finally picked a blue. I wanted to be sure I loved the color in all lighting and because this hallway does see all angles of the sun I knew I wanted to take my time in selecting the right color. Also lighting at night can look so different than during the day so that also played a big decision in my selection.
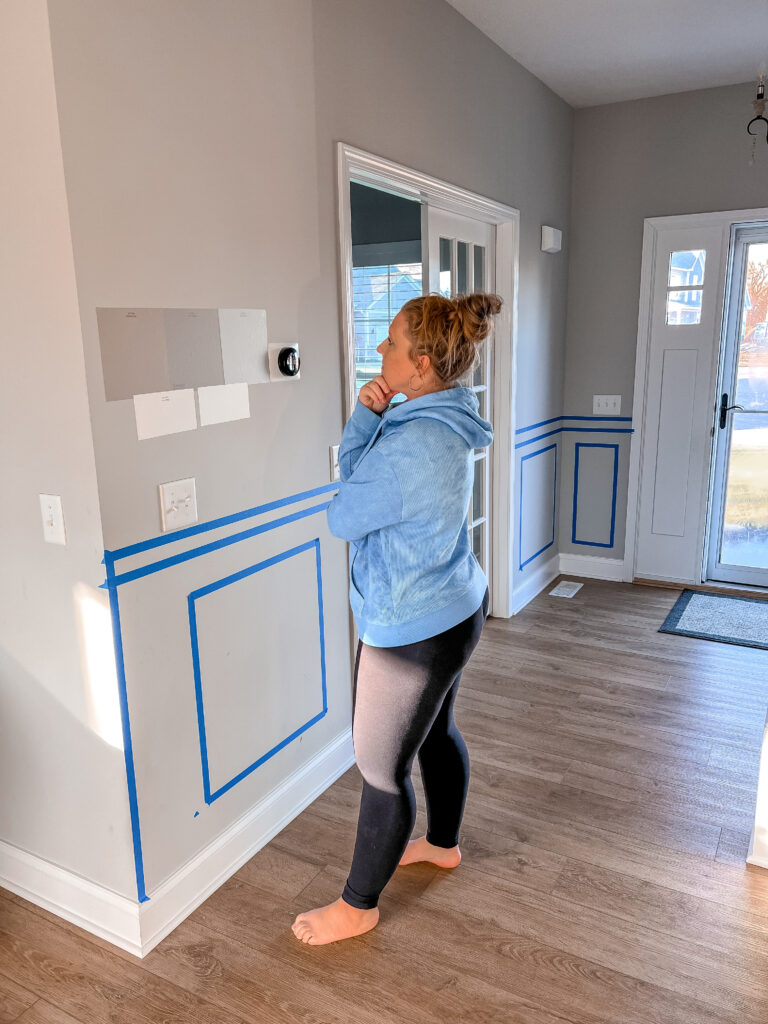
Paint colors I choose : SW Extra White and SW Sky High
Install
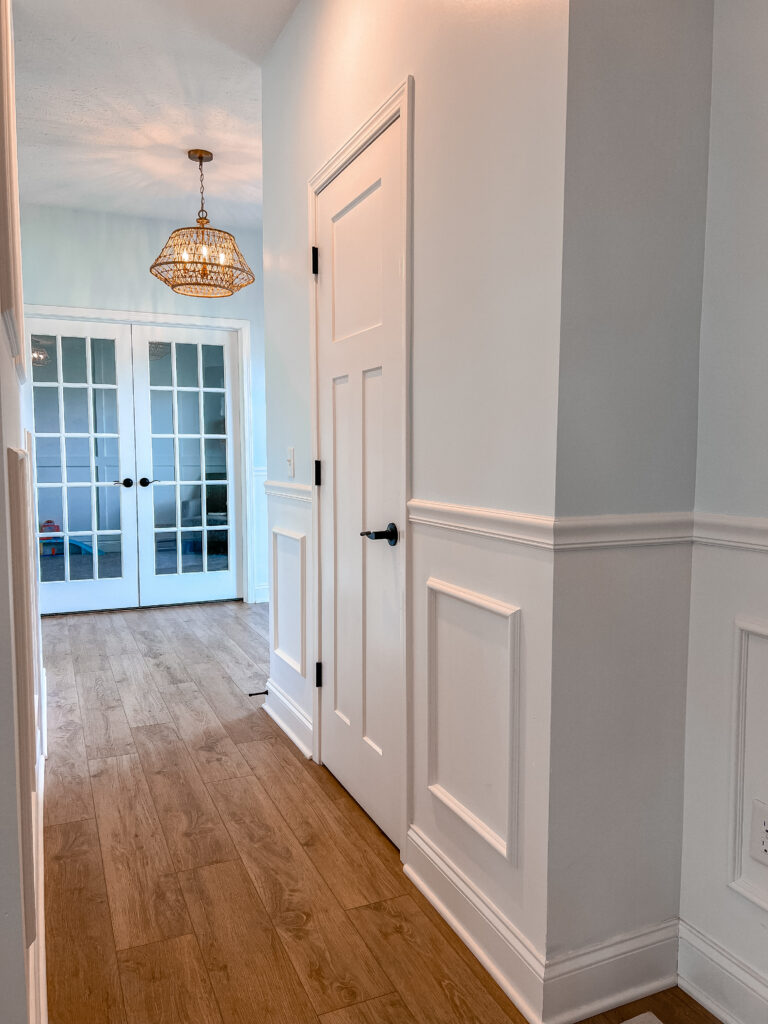
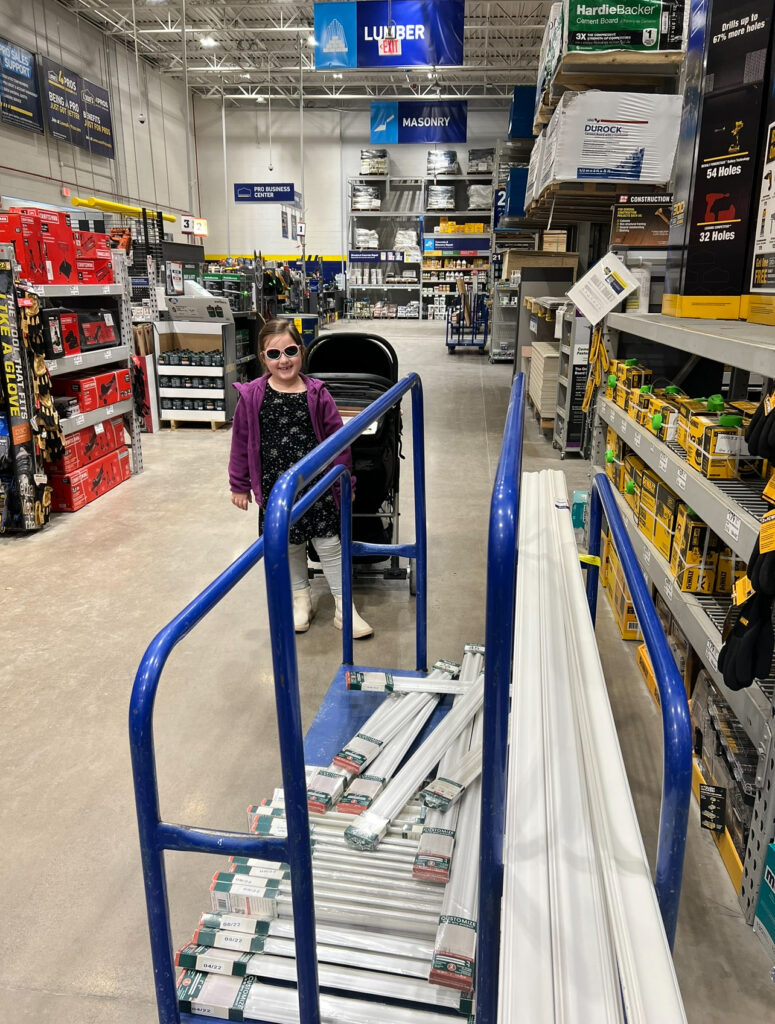
Now, it was the middle of winter here in NY when I was remodeling this space so I wanted to NOT be outside cutting down trim and assembling boxes in the freezing cold. Instead I went with pre-made trim boxes and I loved how mess free this option was. This is my first time using the brand Build and batten and I was overall surprised. The angles were cut nicely and my seams matched up really well. I installed each box using my brad nailer and drove my nails into as many studs as I could as I went around the space. Finding your studs is important because it allows for the most secure hold. If you cannot find a stud, do your best to rotate the direction in which you angle your brad nailer as you drive those nails into your trim and dry wall.
For the chair rail, the top moulding, I did have to measure and cut myself. I grabbed 8 ft trim boards and carried the trim throughout the entire space. At every corner I did create 45degree angles as I went around the hallway.
Lighting
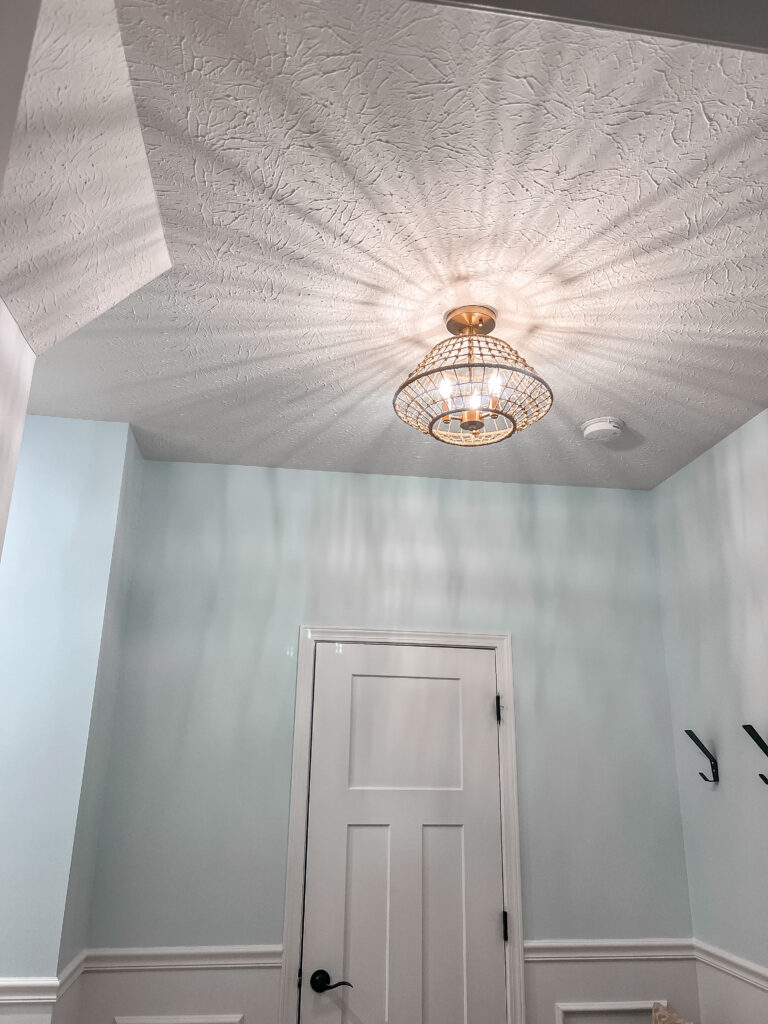
I was so happy to partner with Progress lighting again but now for this space. I actually stayed with the Laila collection for the front entry and mudroom. If you recall the butlers pantry I used the Laila chandelier in there and that space is nestled right off the hallway here in this remodel so having the flow of lighting stay consistent was important to me.
Washable Rugs
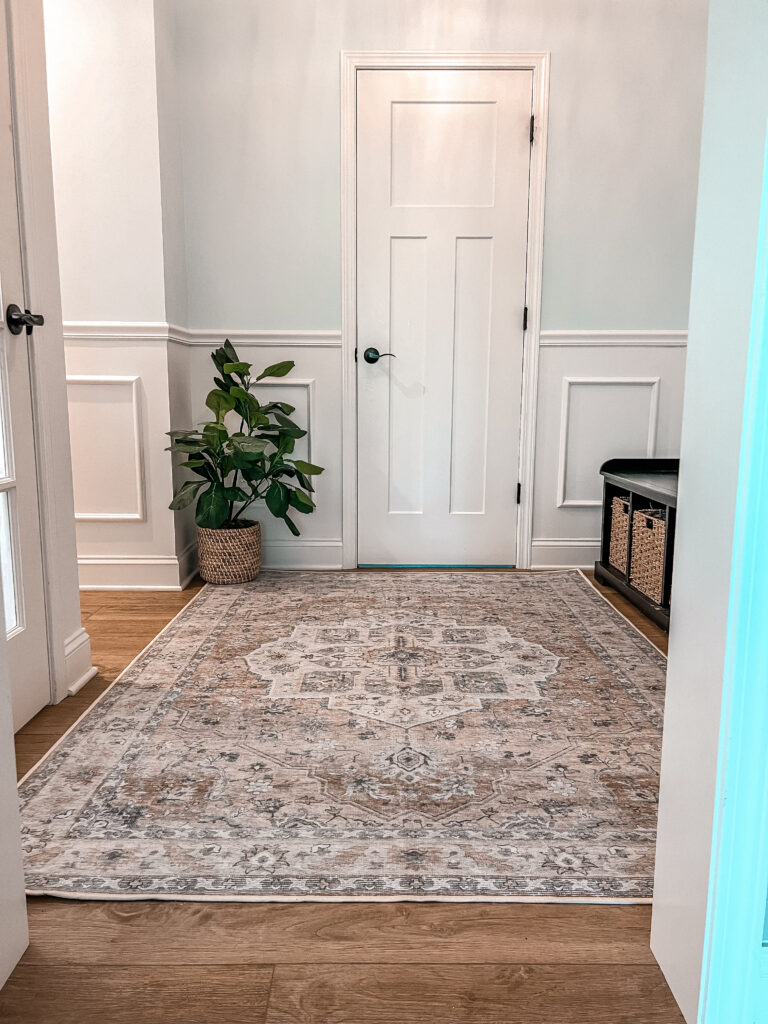
Last part to this remodel was taking these dirty rugs and bringing in my favorite washable brand. Typically, I buy cheap rugs and once they get too dirty and stained to clean I throw them out and buy new again. BUT I knew there was a solution this time around. I grabbed two matching Tumble rugs for the front door and mudroom. I picked the Amara Blush and love love love how they complement the space so well. Here is my affiliate link if you want to shop around for a washable rug for your space. Discount is taken off at checkout! https://www.tumbleliving.com/SAMMIE77321
Also if you want to read more about these rugs you can check out my recent blog on all my Tumble rugs I have in the house here! https://www.ahomewithastory.com/2013/09/01/viral-washable-rugs/