The Unexpected Playroom Remodel
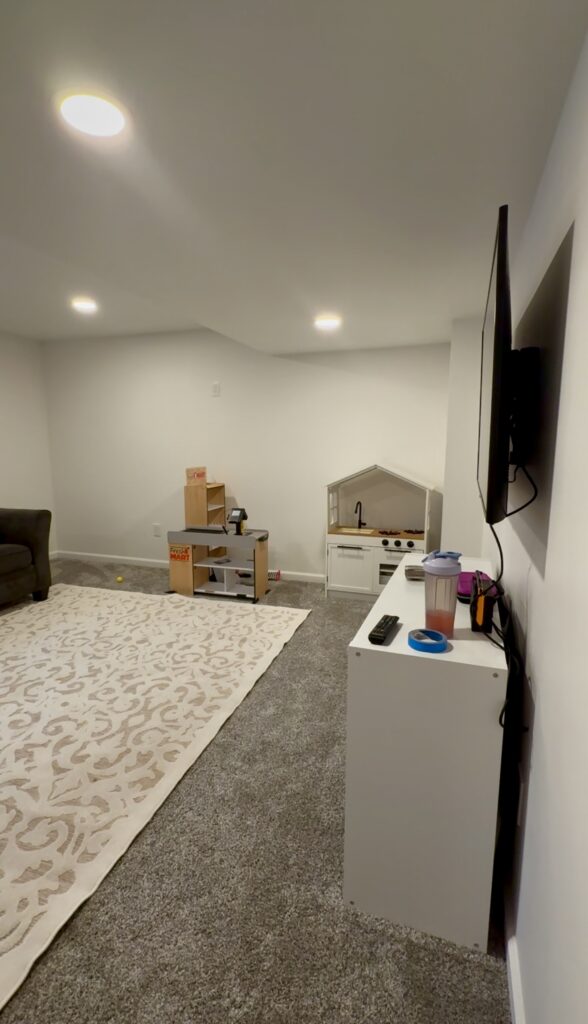
You know the classic story if you give a mouse a cookie? Well, if you give Sammie an idea, she’s going to take it to the next level! Let me break down how a simple diy turned into a room renovation 2 weeks prior to Christmas!
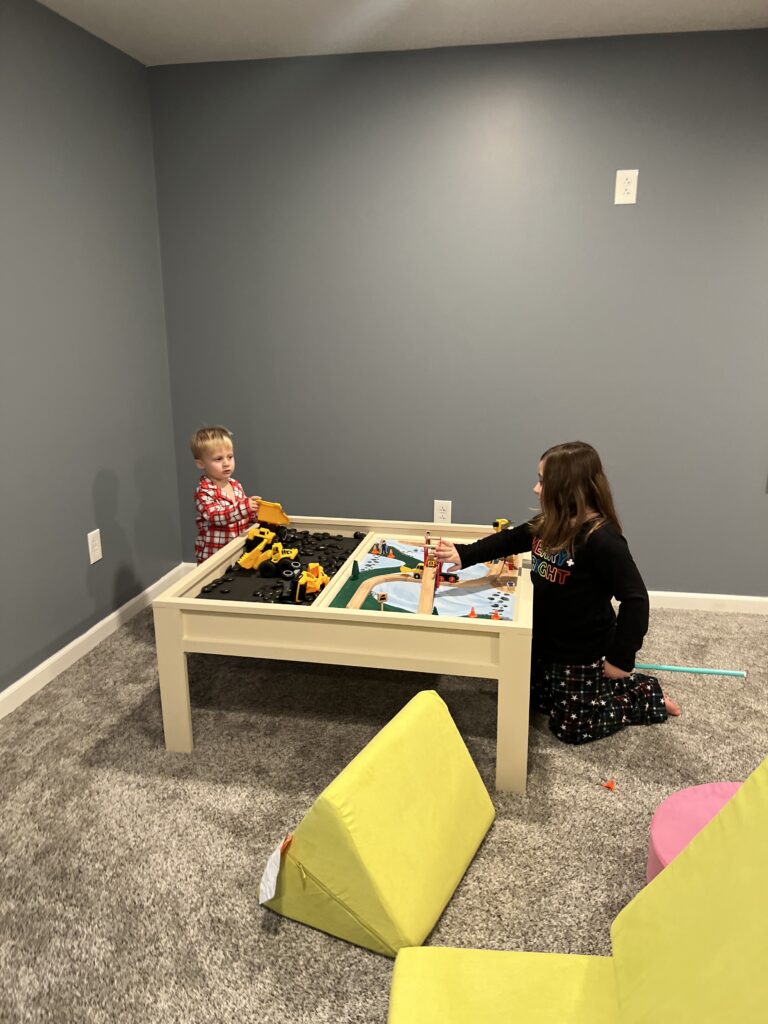
For Christmas this year, I simply wanted to build something special for each of my children! For my daughter, I wanted to build her a chalkboard. For my son, I wanted to build him a 2 part play table that had an excavation pit with river rocks on one side and a train section on the other!
But this is where things escalated! Our basement playroom is newly finished with blank white walls! Knowing eventually, I wanted to paint the space and bring in imagination. I didn’t want to hang a chalkboard on a blank white wall just to take it down to paint in the near future. So, if you give Sammie an idea, she’s going to take it to the next level!
With 2 week until Christmas I upped the caffeine intake and hustled my Mrs. Clause tushy! I knew the hardest part was going to be building the play table for my son so I started with that! I had no plans going into it, which is very, not type A of me to wing things. But it was crunch time and there wasn’t even a minute to spare to try to plan so I just went with it.
Materials used: Affiliate Link here
1/2” sheet of maple plywood
1×2 pine boards
1×3 pine boards
Wood glue
Wood screws
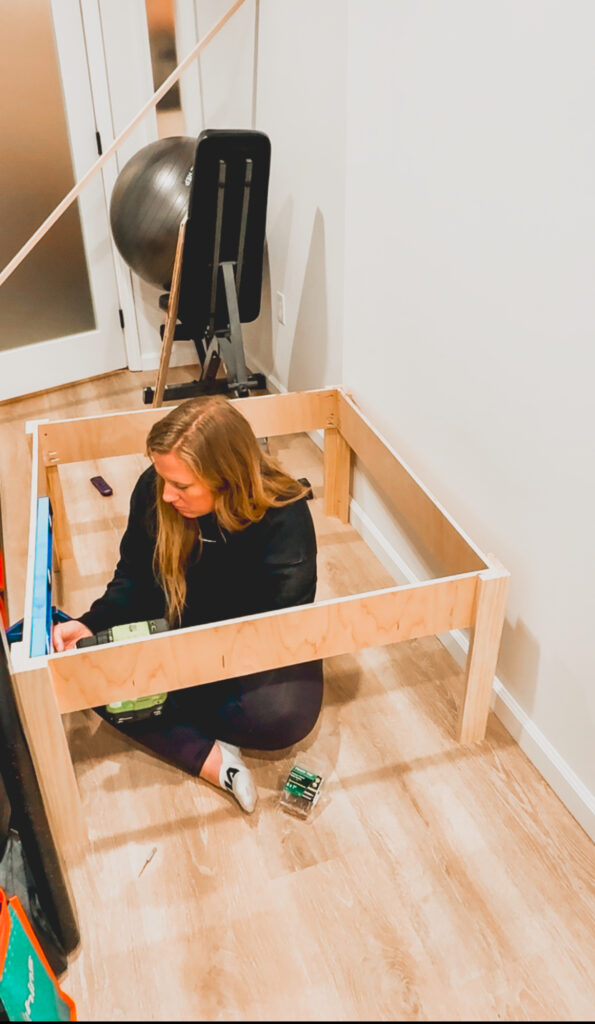
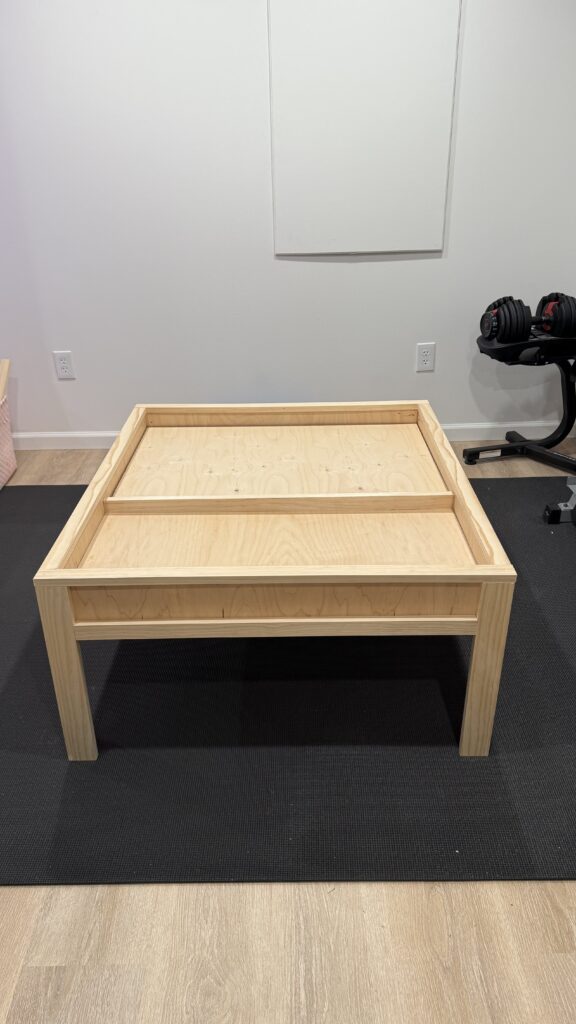
I started with building four legs using 1x3s. I then began building the frame by cutting down my 1/2” sheet of plywood into strips and securing them to the four legs. Now I was ready to start building the excavation at pet area. I wanted to make sure this part of the table was as sturdy as can be knowing it was gonna hold a good amount of weight with the river rocks! I used multiple supports using the 1x2s. Then I cut a piece of plywood to size as the table top for the excavation pit. Once that side was done, I moved to the other end of the play table and started to assemble supports and the table top which would eventually house the train! I finished the table off with 1×2 trim boards which really brought the table to life! I then filled, sanded and painted the table with the color Sand Beach from SW.
Next, I played around with materials to try and buffer the sounds of those river rocks falling! I ended up finding the combination of batting and a yoga mat which was the best solution! I glued the batting down and stapled the yoga mat to the edges using quarter round to cover those staples. Lastly, I painted some landscaping on the train section! I love the pop of color it brought to the table!
Once dried, I added all the train tracks and accents pieces then added in all the river rocks and excavation vehicles.
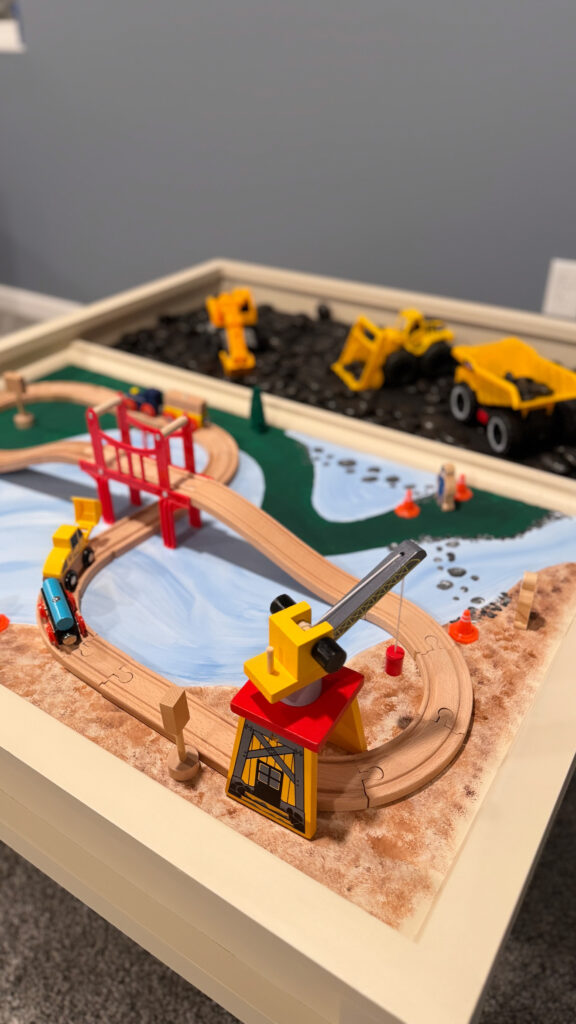
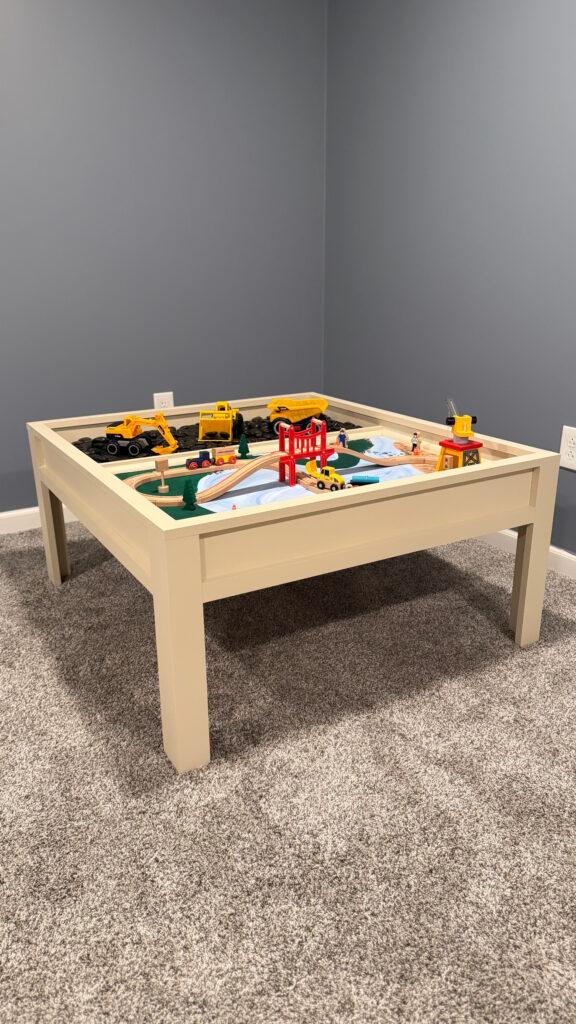
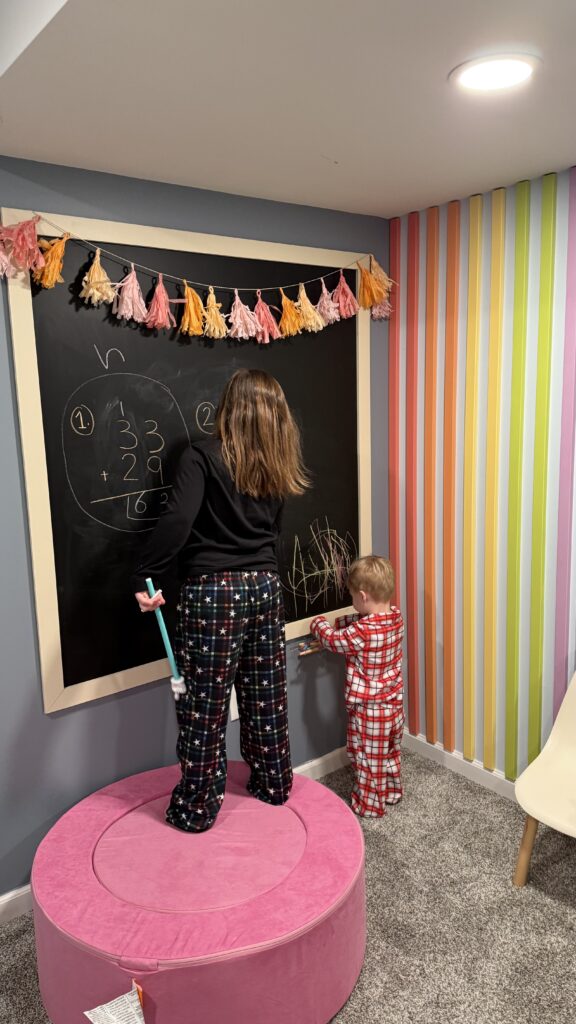
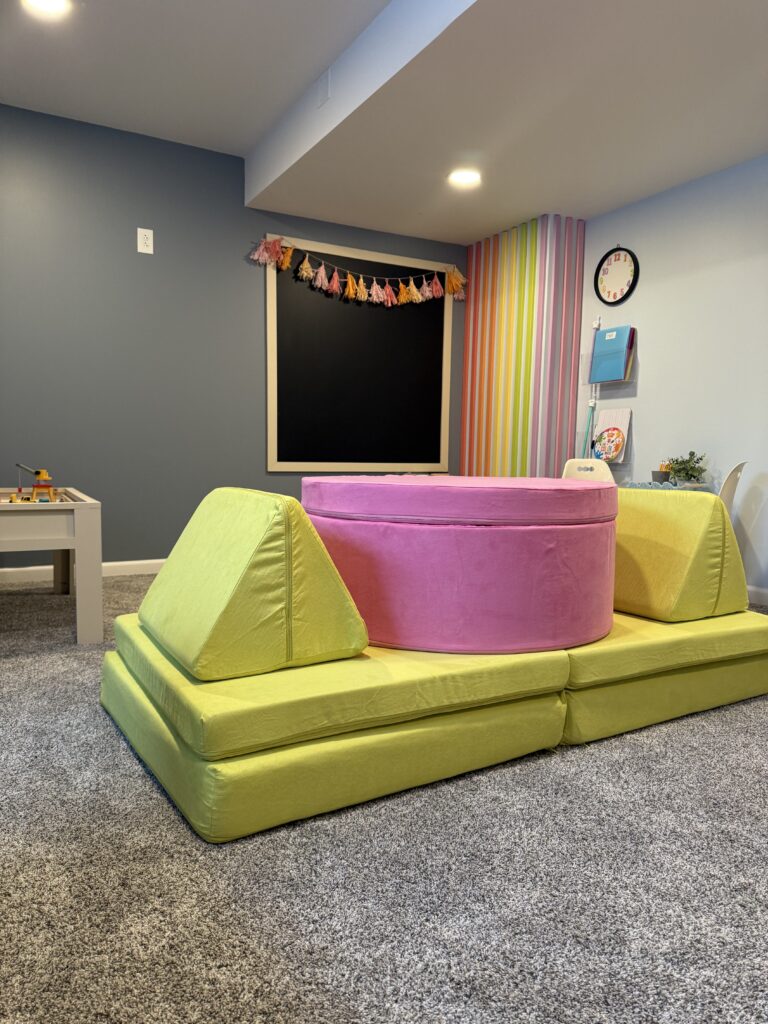
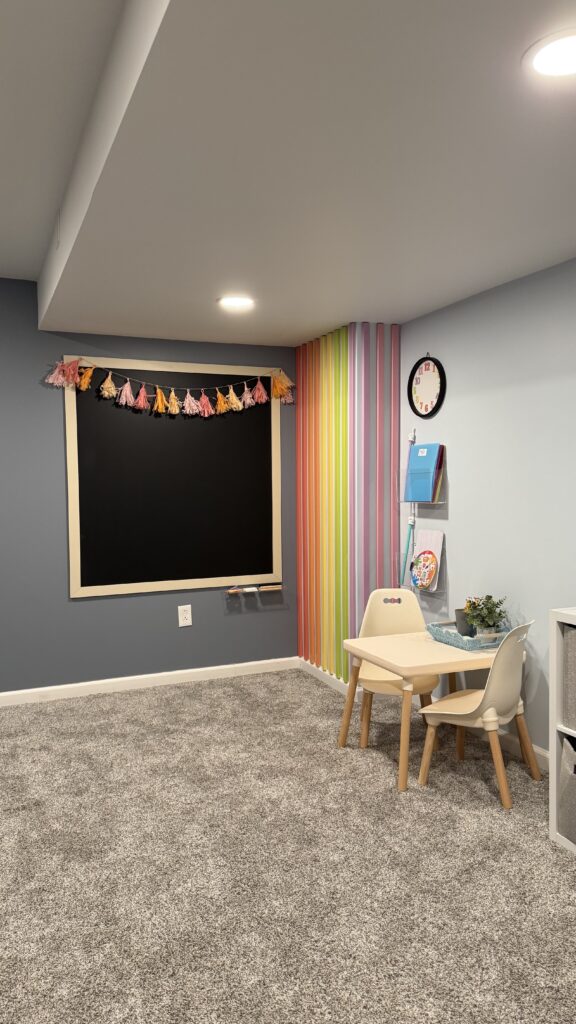
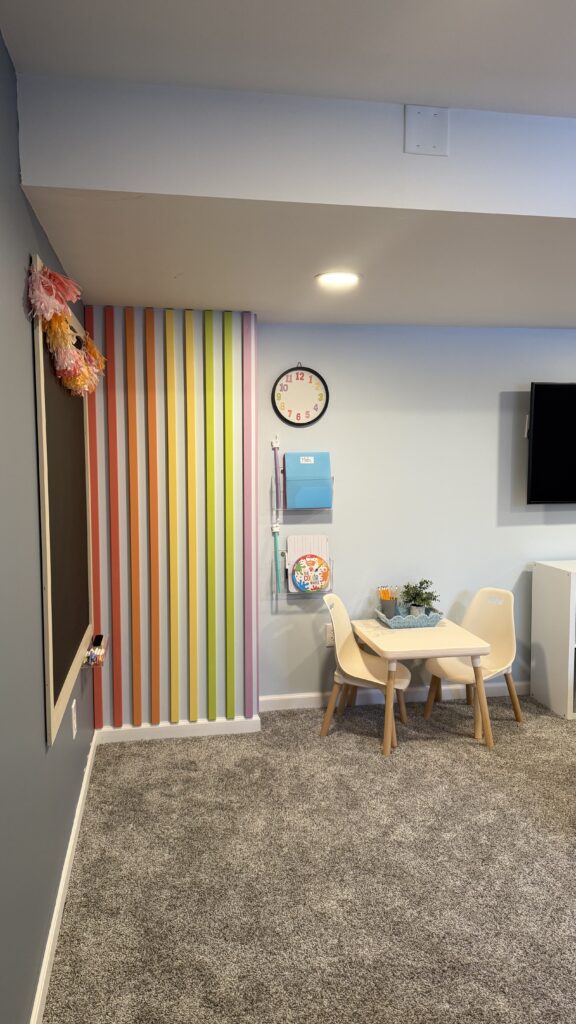
Now that the play table is done I moved on to the chalkboard! But I’ll be honest after spending so much time on the play table I felt guilty I didn’t do more for my daughter so again, if you give Sammie an idea…. I stepped it up a notch and decided to give her not just a chalkboard, but a classroom and painted walls! I knew the chalkboard deserved a colored background so I went ahead and found a beautiful color scheme I’ve been eyeing for a long time. I jumped in and painted the entire basement! I did have a little hiccup and had to lighten one of the blue colors but it was an easy fix. Once painted I installed the chalkboard.
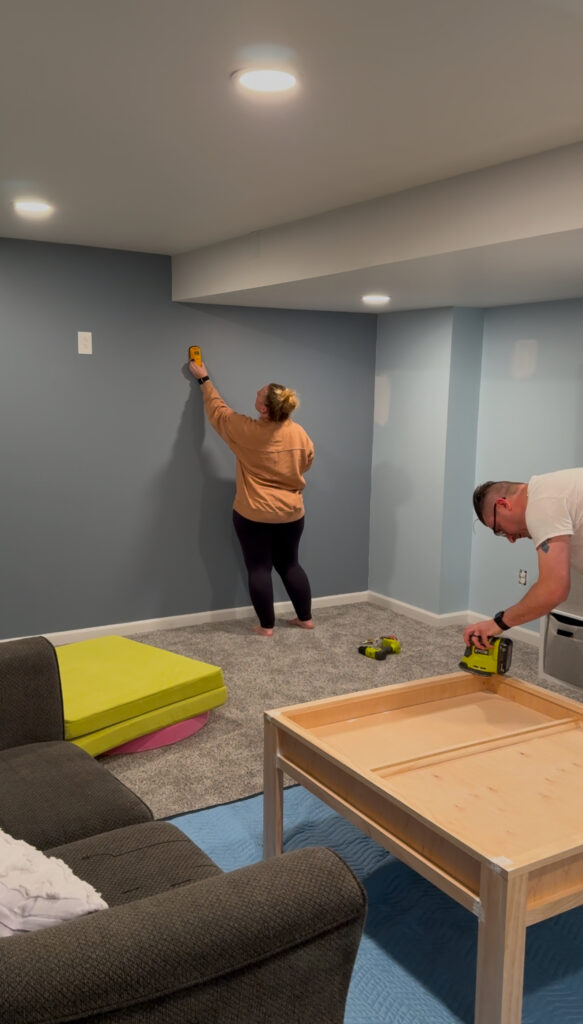
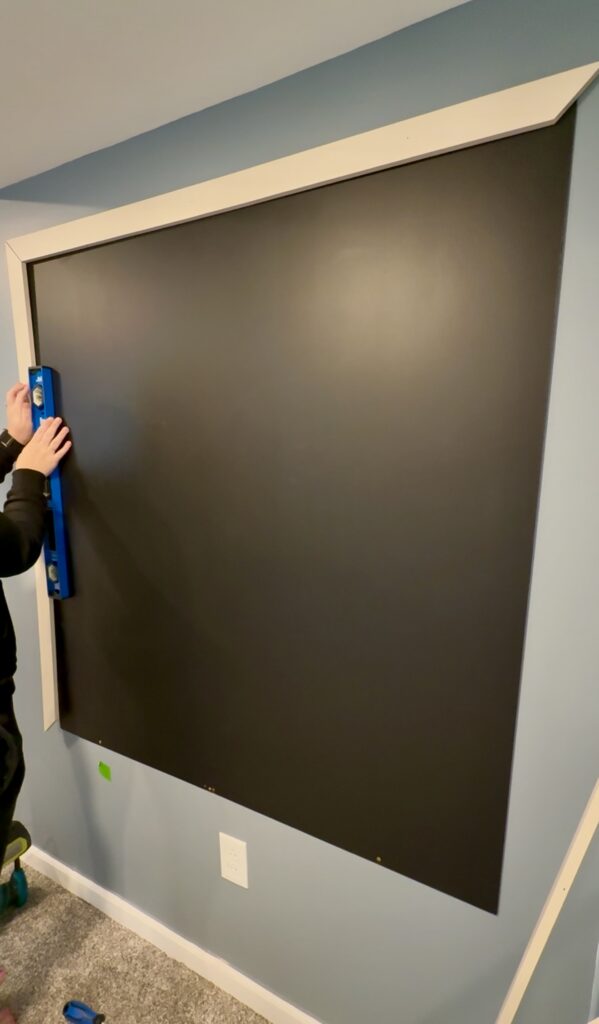
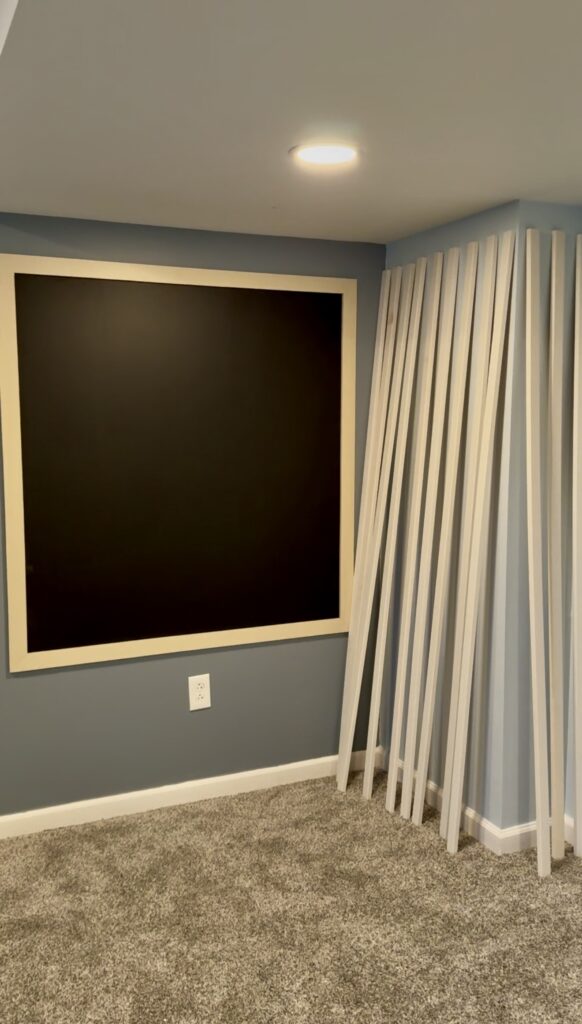
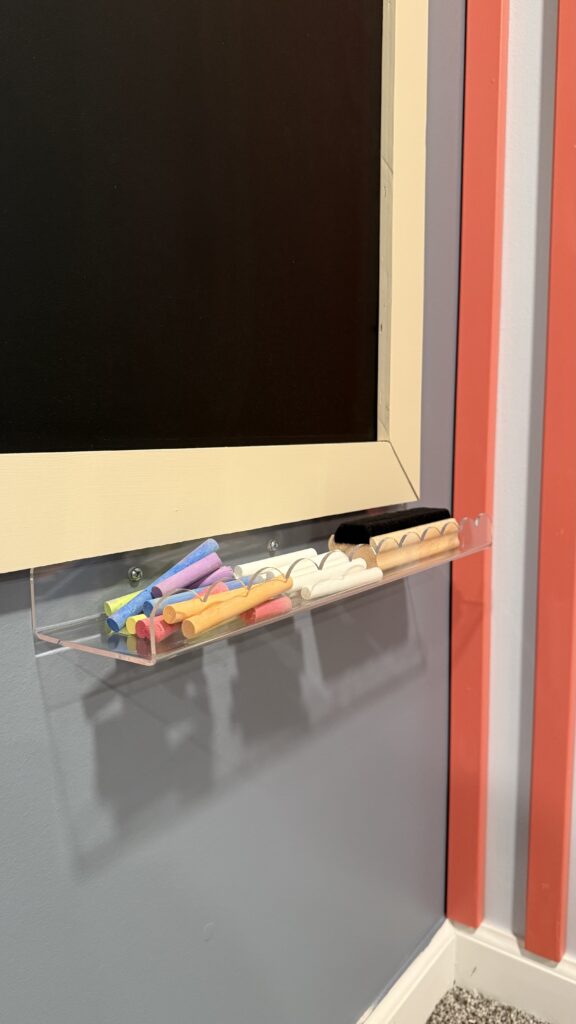
To make the chalkboard I used a sheet of Smooth Hardwood and cut down to size. Then I painted on two coats of Kyrlon Chalkboard paint. I hung it on the walls by securing it to the studs. Then adding a picture frame I cut down 1/2” plywood into long strips and gave them a mitered corner. After sanding, I painted the picture frame with Sand Beach from SW to pair with the play table. Then I secured the picture frame to the wall bordering out the chalkboard!
WATCH CHALKBOARD FOOTAGE HERE!
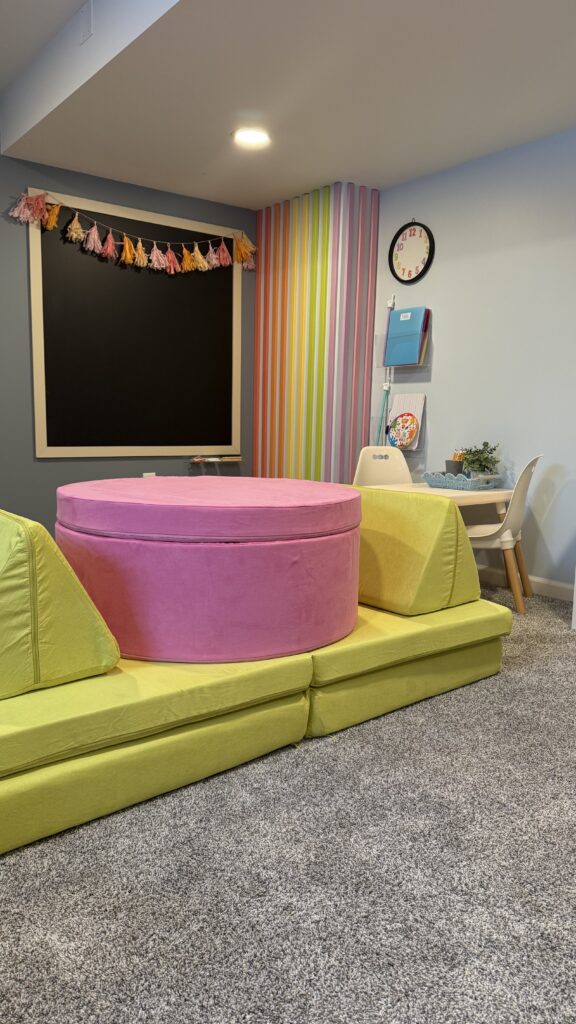
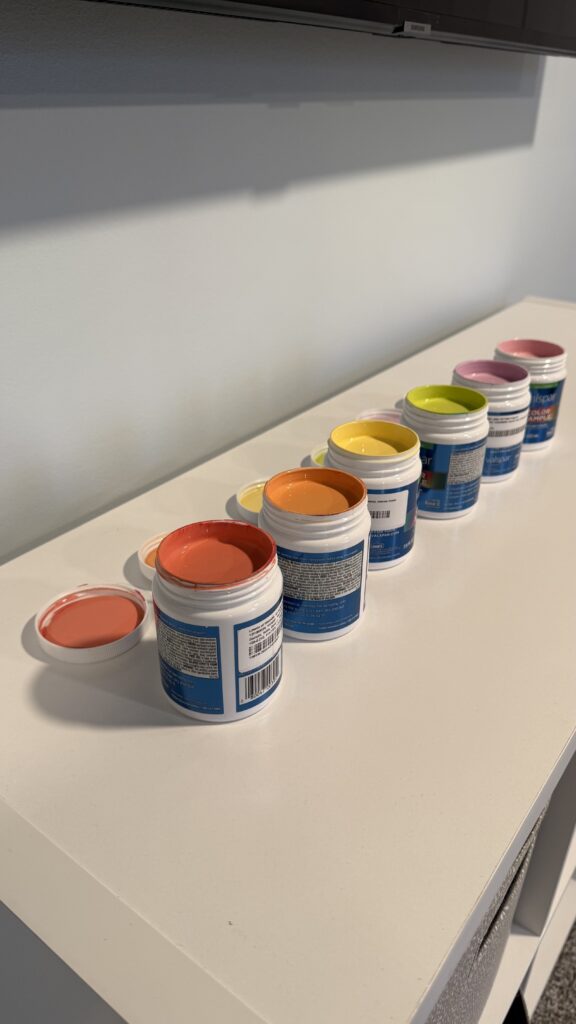
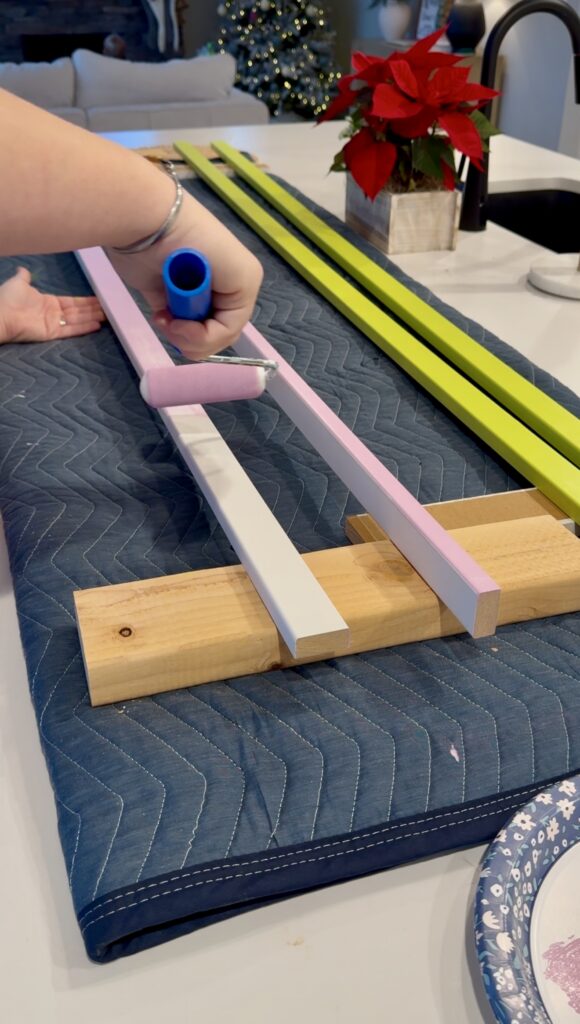
One last idea came to me days before Christmas! I wanted to incorporate a rainbow for her. So I grabbed 12 – 1×2 MDF boards and painted them in a rainbow pattern. I love how much joy it brought to this space and it was so simple to do!
Sitting next to the rainbow wall I added in these adorable clear wall organizers for her filled with folders, stickers and all the fun curriculum a little teacher would need. I also added in a fun little clock and using the same paint colors from the rainbow wall, I used to paint the numbers on the clock!
Lastly, I added in a table and two chairs for the kiddos! We actually already have the same table in a different color in our upstairs playroom so I knew it was a perfect addition to the basement playroom!
Now for the finale, I finally took the plunge and purchased a nugget and chunk for the kids! As much as they love the gifts I built for them, they really reallyyy love the play couch! It breaks down into so many fun shapes which builds so much imagination for them! We’ve been making obstacle courses and playing games and building forts and towers with all the pieces!
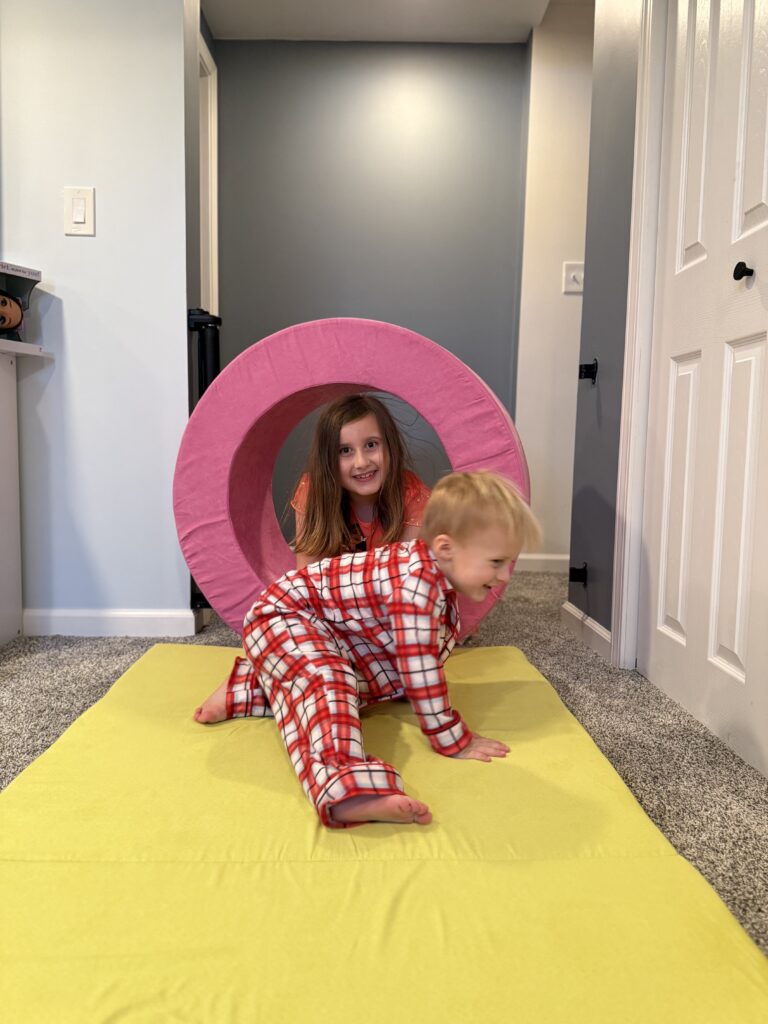
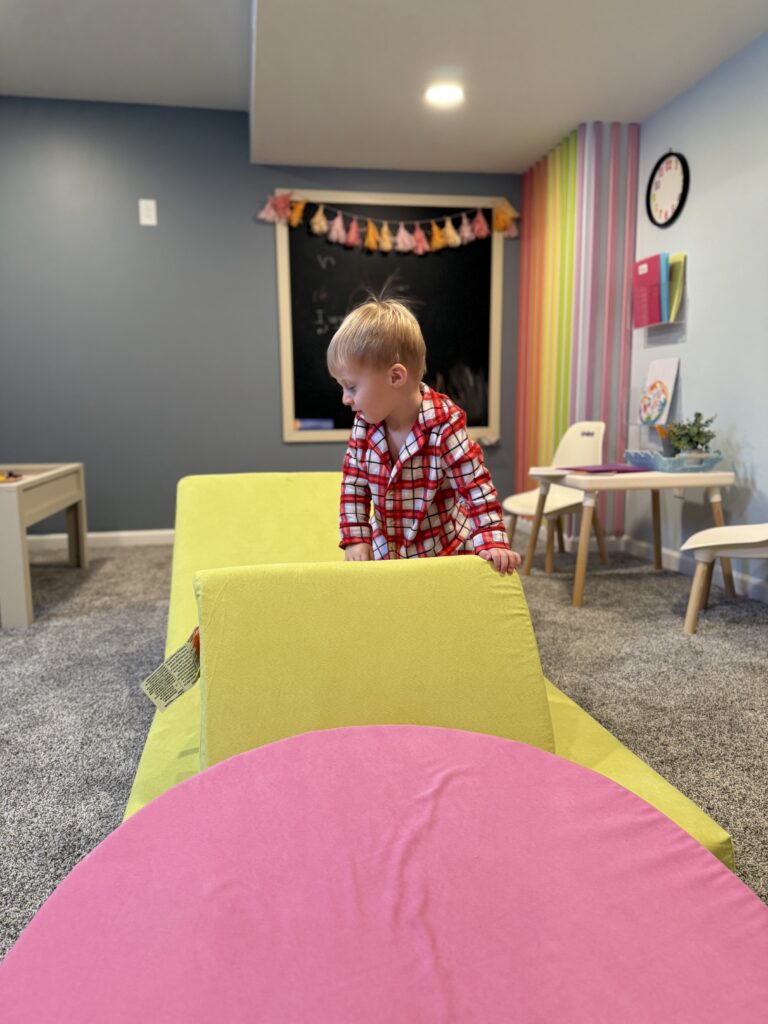
Christmas morning was such a memorable moment for all of us! I loved being able to finally show them what I’ve been working on tirelessly for those last two weeks! Their reactions were priceless and I’ll never forget!
Now moving on to phase two! I have so more trim work I want to add, a seating area and more play storage! I can’t wait to start! But first, mama needs a week off to rejuvenate!
CONSTRUCTION Affiliate links:
Construction vehicles: SHOP HERE
Construction Train Track: SHOP HERE
Construction Table building materials: SHOP HERE
CLASSROOM Affiliate links:
Chalkboard Building materials: SHOP HERE
Chalkboard Decor: SHOP HERE
Clear Organizers: SHOP HERE
Scallop Shelf: SHOP HERE